I have to say this was a bit of a brain teaser, and sleepless nights for both Melissa and I but when the penny dropped on me this morning I was like no way that's actually so easy...we often tend to over think things and make it difficult but generally in the Silhouette program it is easy it's us that make it complicated.
So I thought I would show you a step by step tutorial on how to design a LACE card from scratch.

The first step is to draw a rectangle the size you would like the card to be "unfolded", in this instance it is 8 x 6".
To size the rectangle I used the "SCALE" icon highlighted in blue above to size it to the size I wanted. Remember to un-tick the "Lock Aspect" to size it to the exact size you want otherwise it will size it in proportion to how you drew the rectangle in the first place.
The next step is to create the slant in the card:
1. Start by double clicking on the rectangle and you will get 4 black dots, one in each corner.


The next few step, take some playing around, but to start with you go to your library and find a rose that you want to use to create the lace effect.


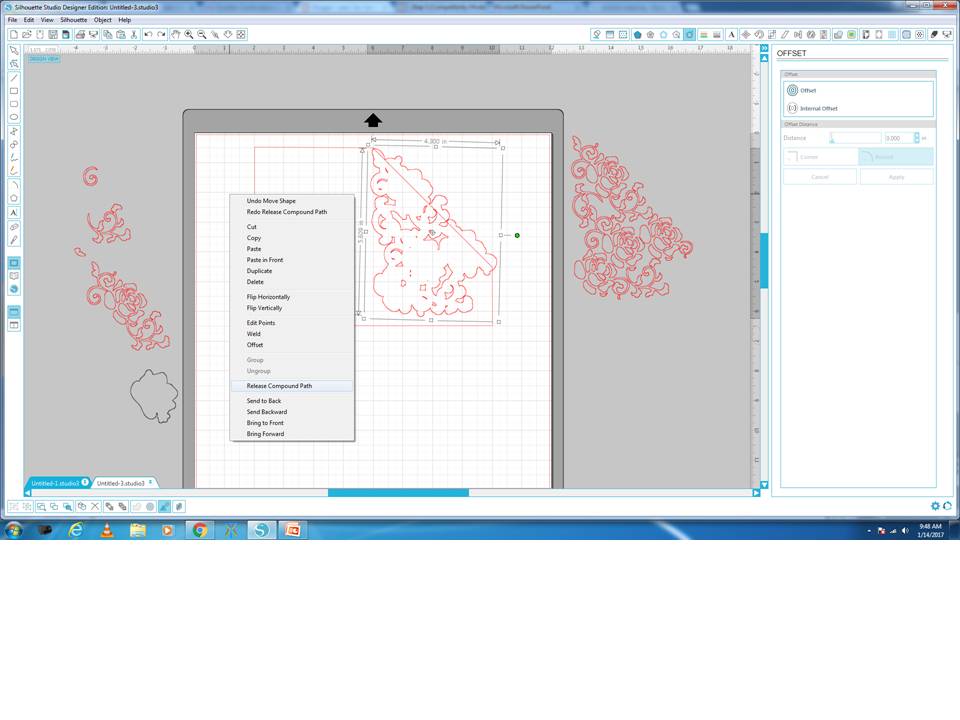
You will now notice that the rose has a lot of light squares around each individual cut line of the rose. However you will notice that the swirls and flourishes are connected to the outside of the rose and in order to get the effect we need at the end we need to separate these pieces. To do this you will use your knife tool
The knife tool is found on the right hand side toward the bottom. In the picture below it is highlighted in blue.
If you look at the screen now you will see the Knife selection has opened up on the right hand side of the screen. In order to cut these sections apart but to keep the designs closed you need to select "SOLID" and then I swapped between "STRAIGHT" or "CURVE" in terms of the knife. Now cut along the flourish as per the images below and when you happy click "APPLY SELECTED KNIFE".
You will now notice in the second screen shot below that the flourish is now separated from the outside of the rose.
Repeat this on the flourish on the other end.


Now you will drag the outside of the rose away. For ease of seeing what I am talking about I coloured the line black that we be dragging away. That will leave you with 2 flourishes and the inside pieces of the rose.
Select all the inside pieces of the rose then right click and "MAKE A COMPOUND PATH" so that they are all connected now.
What I would now do is select the flourishes and the inside pieces of the rose and right click "COPY" right click "PASTE" and keep this copied rose to the side for later.


Now you will drag the rose towards the invite outline you drew earlier and if need be rotate the rose slightly to position how you want it. (To rotate, click on the image and where you see the green dot, hold your mouse over that and slightly move the mouse and you will see the image rotate).
Now using the rose and flourish you "COPIED & PASTED", copy and paste another one keeping the original one as you will need to copy and paste a few of them through out the process.
With the 2nd copied rose and flourish fill the line with the rose image careful not to overlap any of the lines and if need be cut off sections of the flourishes to fill in the last gap. To do that use the knife tool again as explained previously.
Now fill the right hand side of the card using the rose and flourishes. You will see in the 3rd image below how I filled it. I didn't to all the way to the bottom or right hand side in case you wanted to stick it down to make a pocket and the 2nd reason being for stability.


Now that it is filled to your liking with no pieces overlapping select all the rose pieces on the right hand side of the card then right click and "MAKE A COMPOUND PATH".


Now click on the inside pieces of the rose and drag them off to the side. You should only be left with the card frame and the offset with all it's little pieces.
We don't need the little pieces so you can delete them. To delete you can either use the eraser or alternatively click on the offset section, right click and "RELEASE COMPOUND PATH" then click on all the pieces that you don't want and delete.

Now you should just be left with the cluster of the roses in the grey area and the bits and bobs I was using.
Now select both the outer invite and the offset then right click and "WELD"

After you have welded you will now be left with the image below....I know I know...believe it or not we are almost done.

Now drag the roses cluster from the grey area back onto the working surface and position it inside the offset section.
Now lastly I added my score line. I did this by selecting the straight line icon on the left hand side which is highlighted in blue and then holding the "SHIFT" button down whilst drawing the line I drew a line from the centre of the card to the bottom. What the "SHIFT" button down is make the line perfectly straight.
Once I had my line I click on the "LINE STYLE" icon at the top and choose the perforated line style so that it only perforates when it cuts to create a fold line.

Now selected the outer card, rose cluster and the score line, right click and "GROUP".
Now you can move it to the position on the mat and you are ready to cut.
Remember to set your cut settings to the desired paper that you will be using and when it is finished cutting be gentle as it is a delicate lace card and can tear easily if not handled with care.
Here is the finished card, ready to be made into a pocket if I wanted.

I hope you enjoyed this tutorial and I would love to see what you design. Until next time.
Liane
Hi Liane. Any idea on why when I double click on my rectangle I get 4 outer squares but not centre circle. Thanks so much just love your blog.
ReplyDeleteLinda
Hi Linda, sorry for the delay in my response. Can you email me the file that you talking about or screeen shots so I can see what you mean? My email lianevharn@gmail.com. So happy you loving my blog. xoxo
DeleteHI Linda, if I understand what you are asking. You don't have the centre point of rotation that little circle in the centre of your rectangle? You would need to go to your settings. In the bottom right hand side of the software program there is a gear. Click on that > defaults > show centre of rotation > apply. Now you should have that centre circle.
ReplyDeleteHope that answers your question.
OMW Liane I thought I was going crazy as I could not for the life of me find the show centre of rotation option under defaults!!! I Googled it and found out that the option is only available in the Designer edition. Think it time for me to upgrade! Thanks again
ReplyDelete